Deconstructing Rovings from Mottled to Methodical
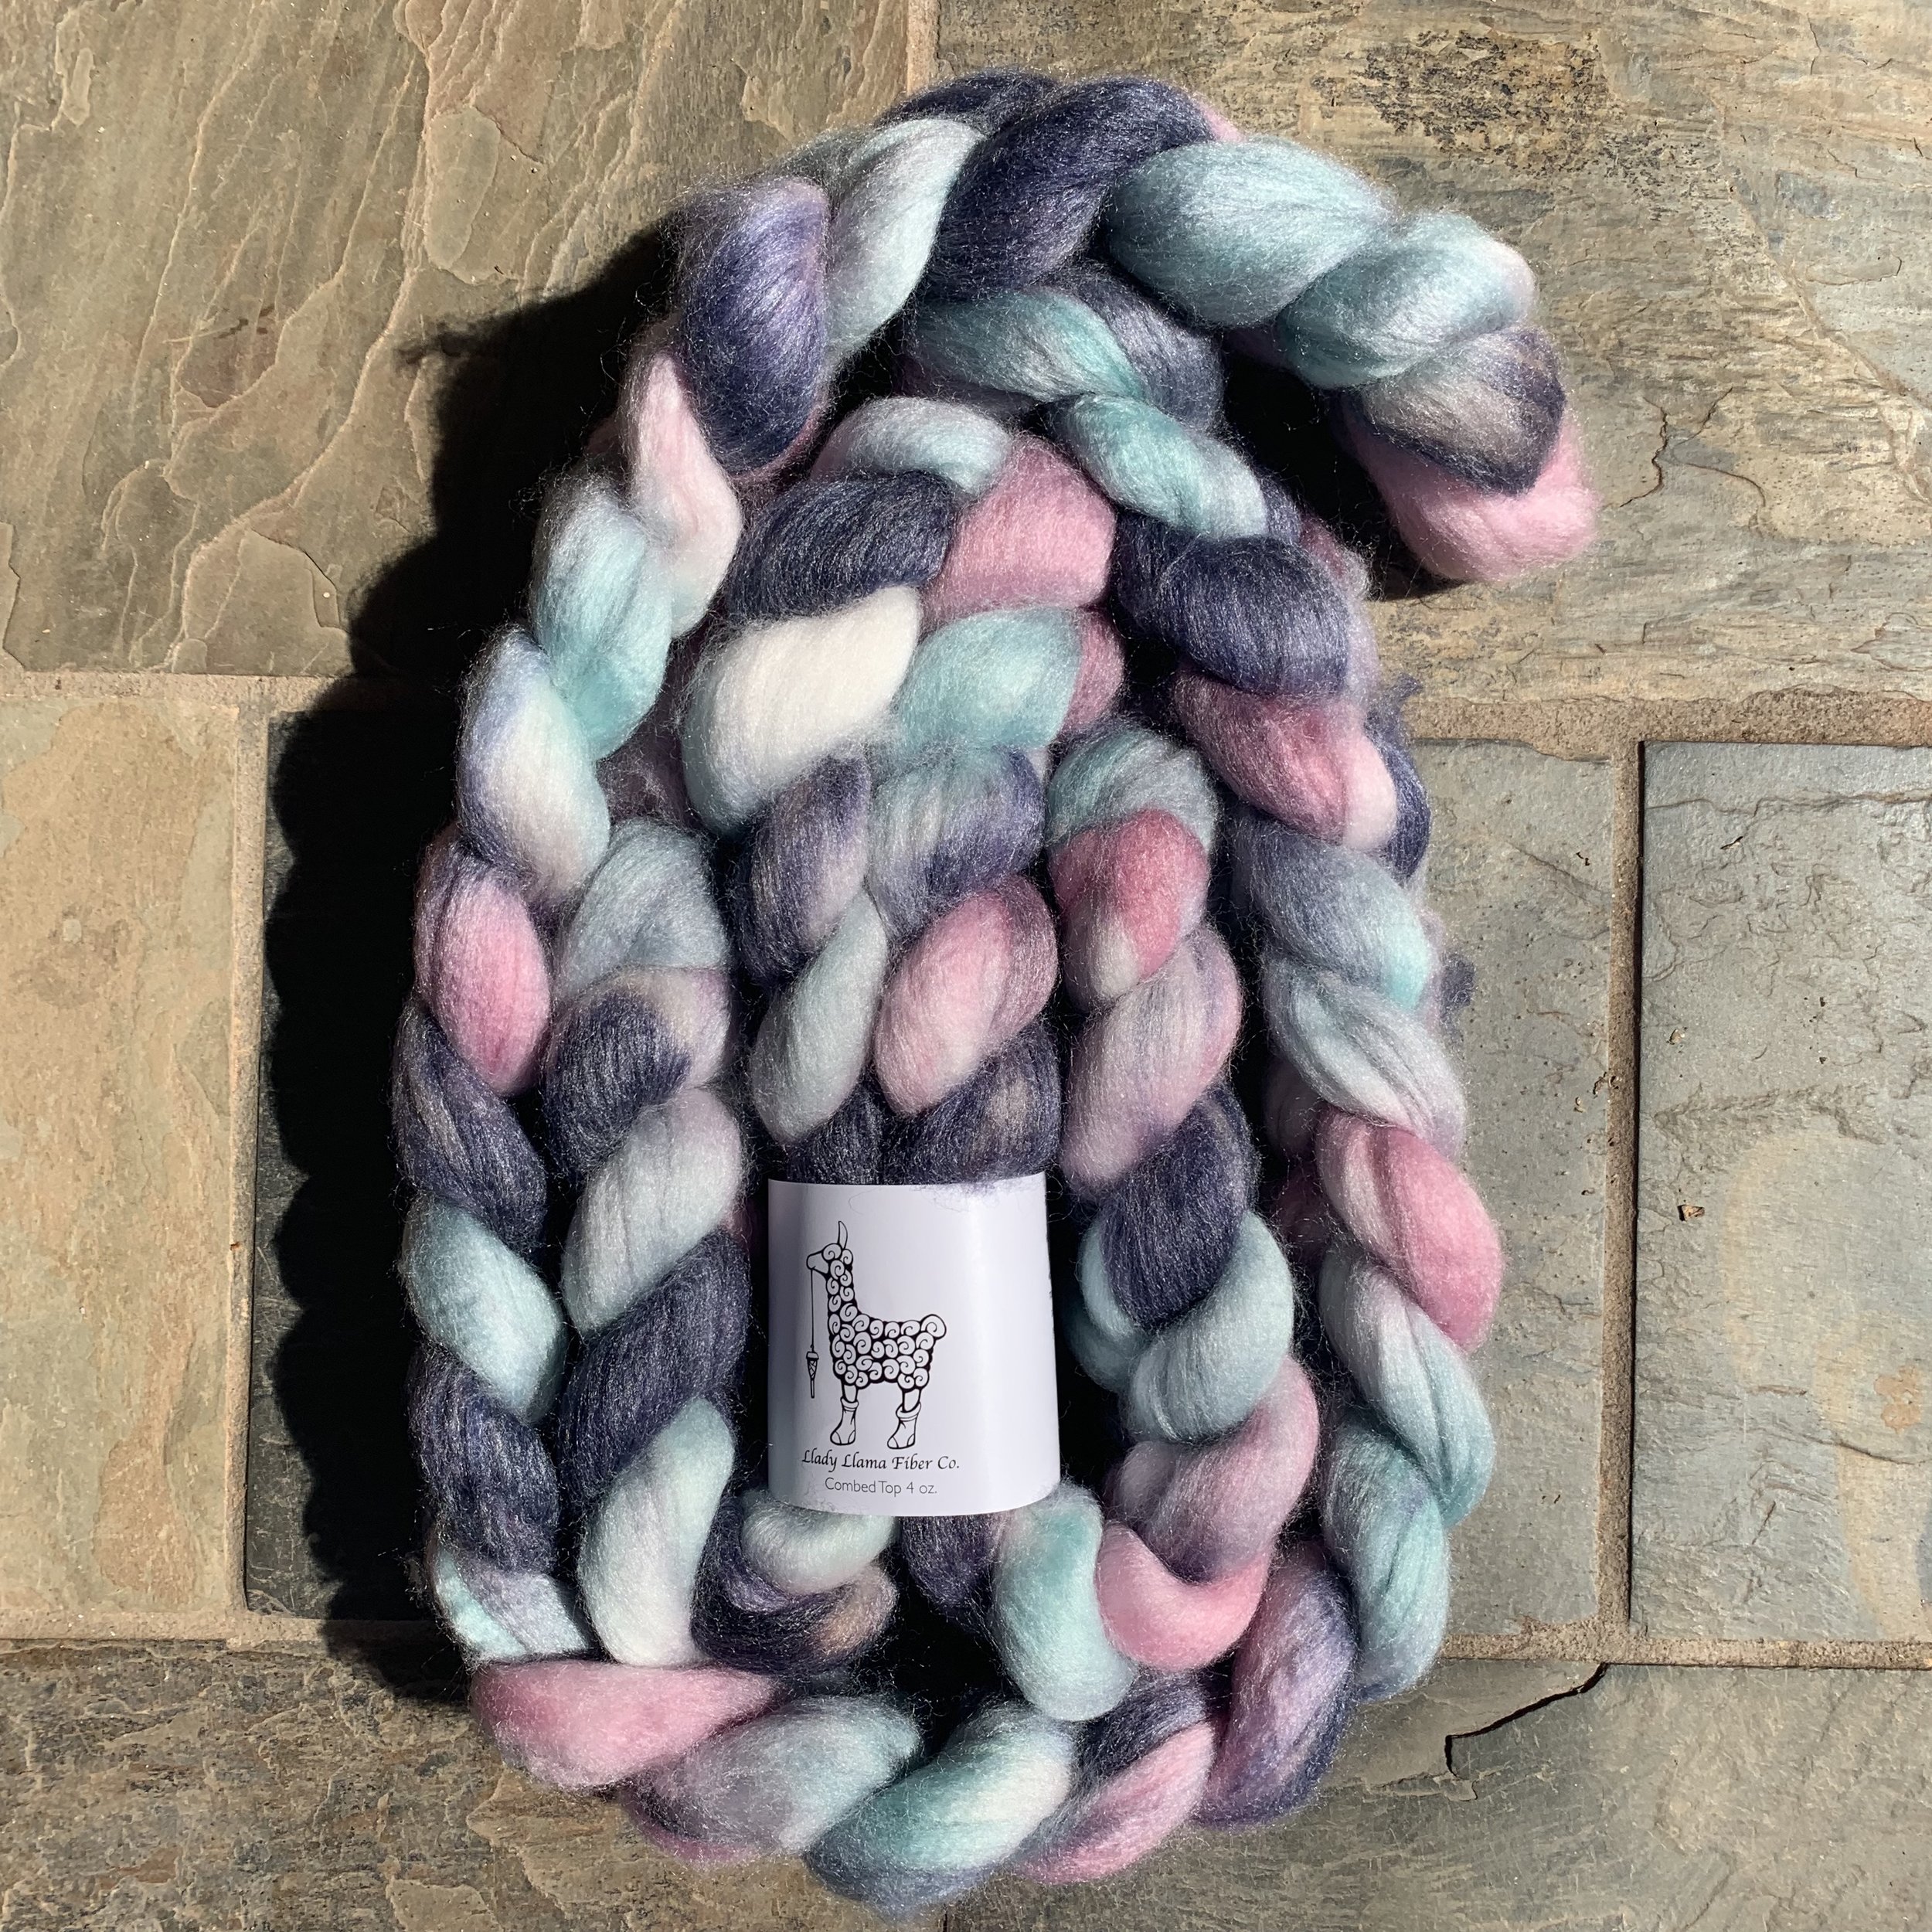
In the Spring of 2019, I was asked by a friend to contribute a piece to their silent auction to help them raise money for adopting a child. Joji Locatelli’s Odyssey Shawl had been in the back of my mind for a while and knew at some point, I wanted to knit one. Previously, I had some inspiration from a video that I had seen by Grace Shalom Hopkins. She has lots of great videos and tutorials. It had never occurred to me to deconstruct a roving before this. Watching her pull one apart definitely gave me the confidence to try. Thanks Grace! It wasn’t until I saw this stunning wool colorway called Nebula from Kelli of Llady LLama Fiber Co. that I knew exactly what I wanted to do. This coloway was dyed on a base of superwash merino, bamboo and nylon. This tri-colored fiber was going to be precisely what a shawl calling for 3 colors needed!
So how do you take a beautiful, variegated hank of fiber and turn it into 3 single colors for spinning? The first thing you have to get brave and start pulling your hank apart. I find it is easier to start by separating the fiber down the length into thin pieces like I would for spinning. I aim for each section to be about a thick as my thumb. Then, just start pulling apart at color changes and making piles! Make sure your hands are at least as far apart as the staple length of the fiber so you don’t break the individual strands. Don’t be scared, a drum carder or blending board will do the work of putting it all back together for you.
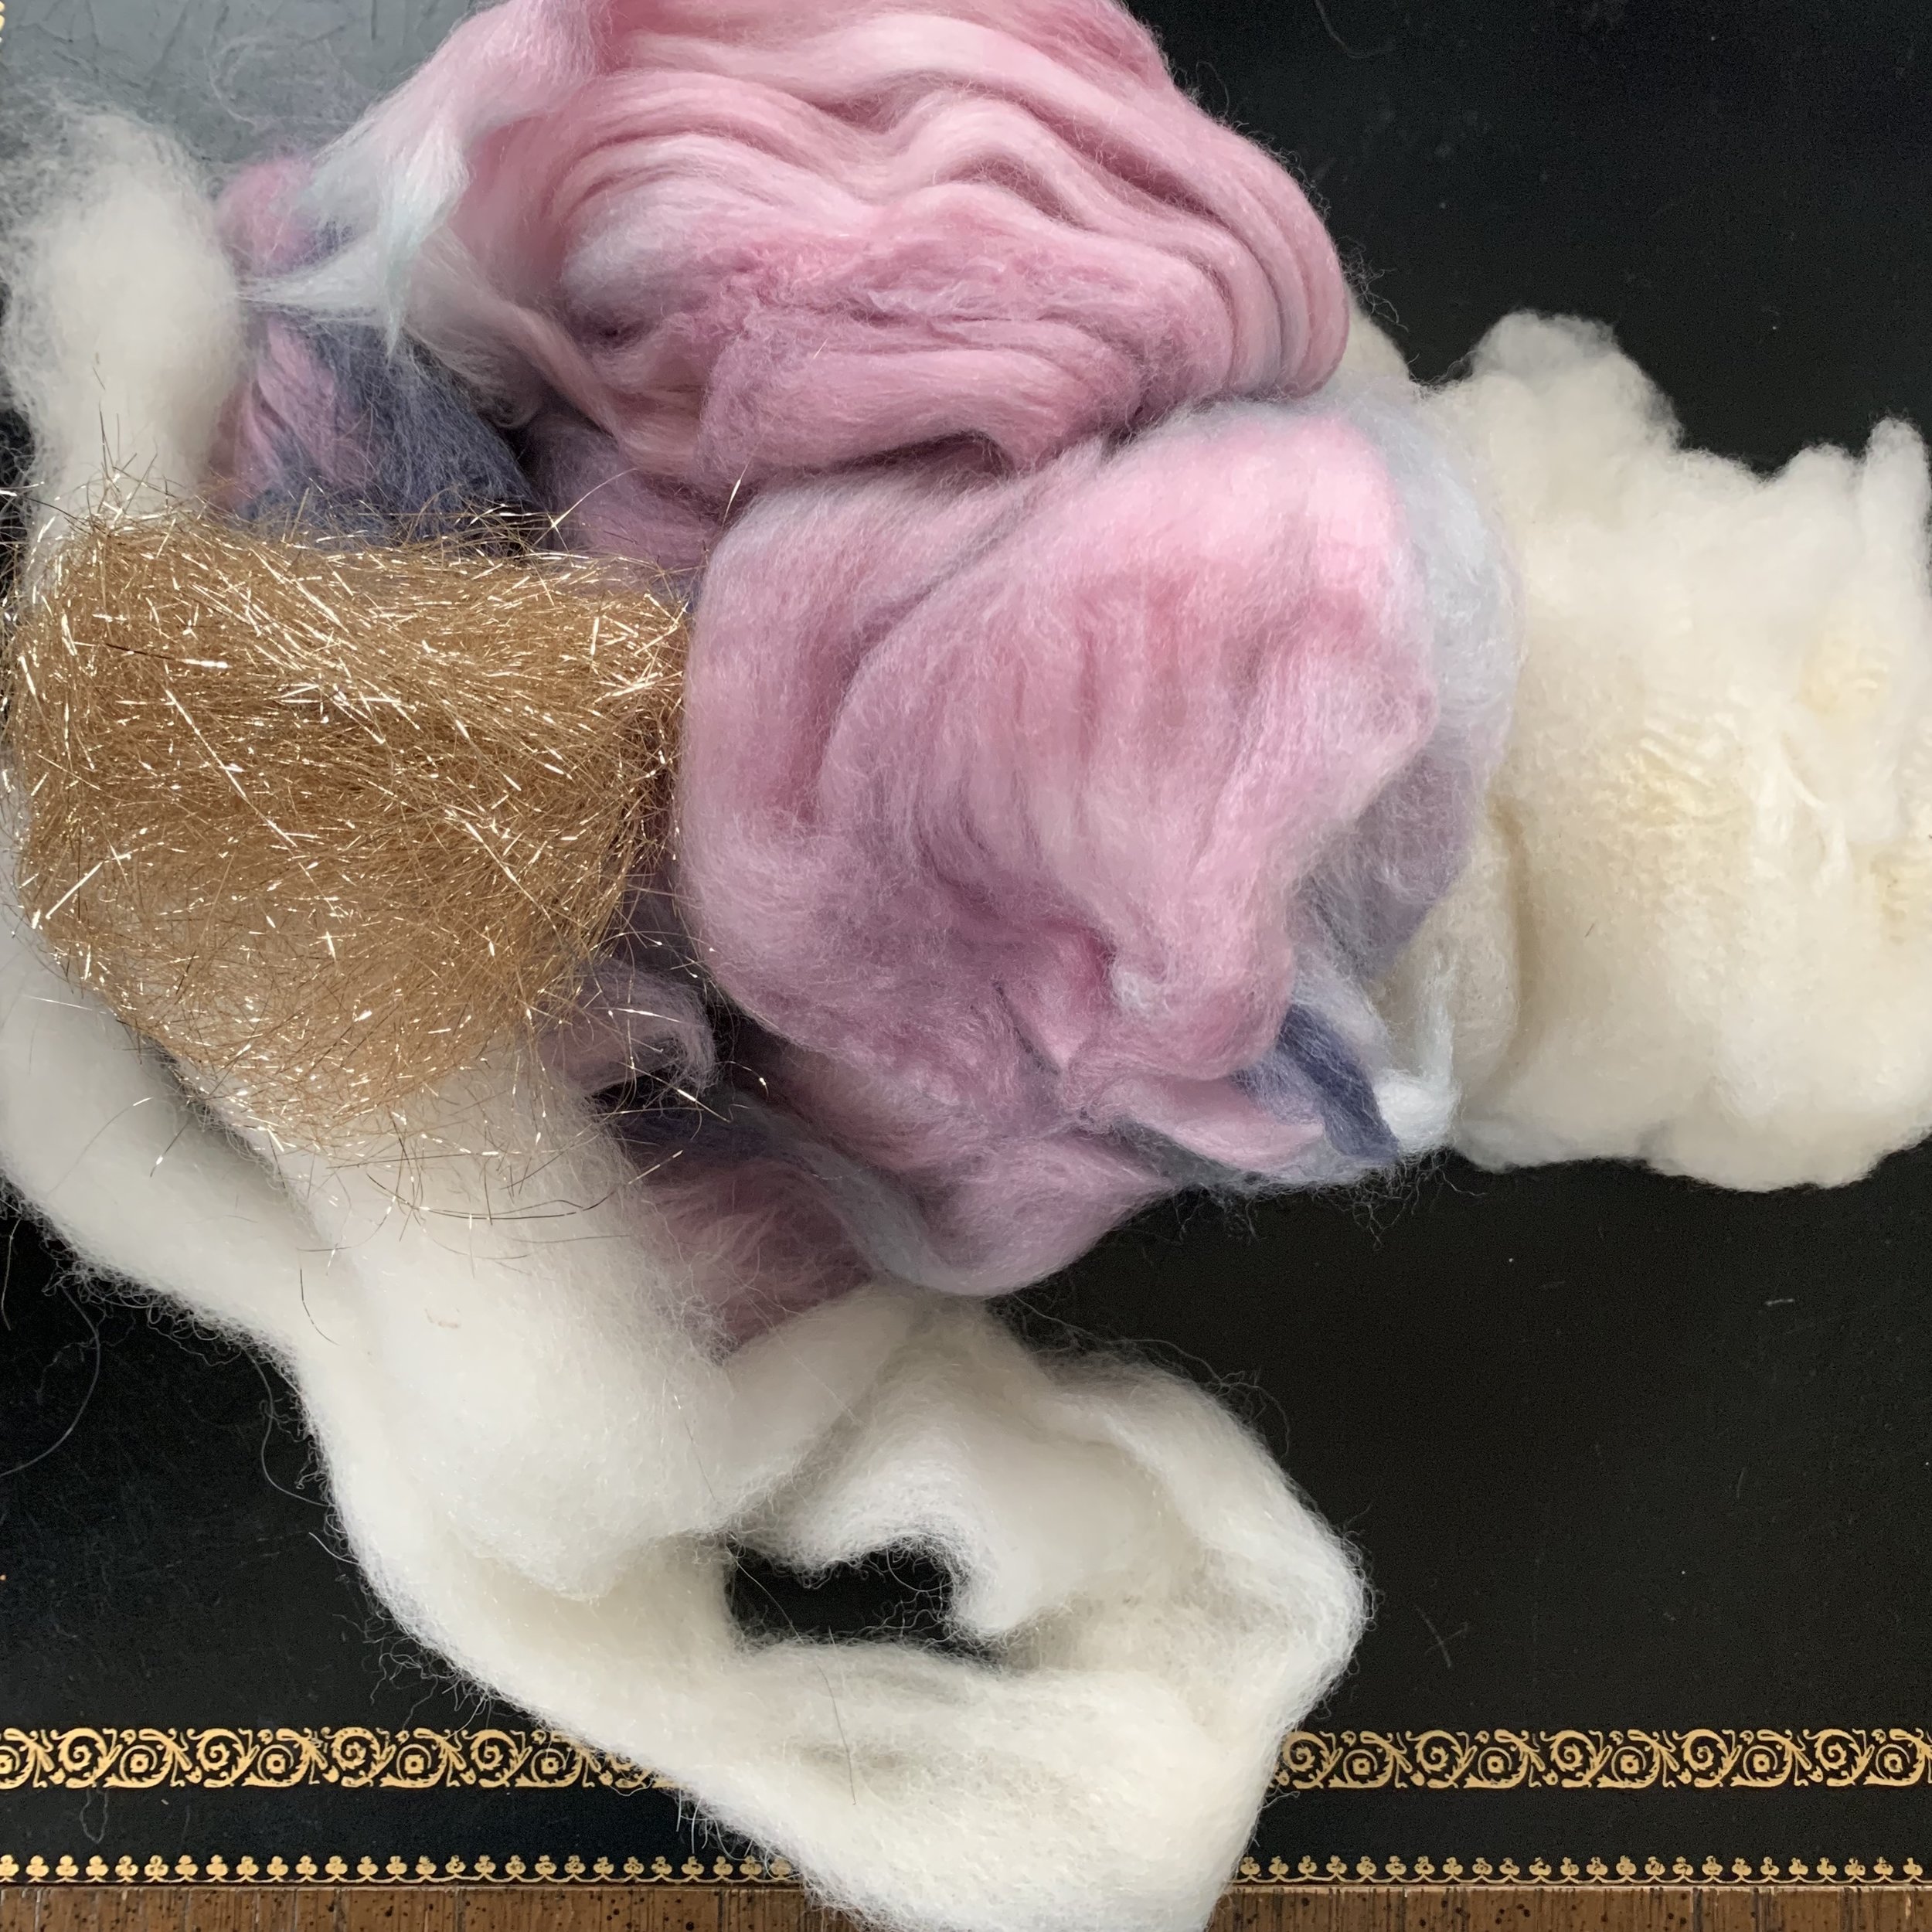
You can see that each color has a little cross over from the other 2 colors left on the tips, but truth be told, that’s not a big deal and mostly blends in when you card it. Those little colorful tips also help keep the 3 batts visually related once you start spinning. The other detail you might notice from the pictures is that I added some other soft beauties to the mix: white alpaca raised in Georgia, hand scoured Debouillet wool from Texas and sand gold angelina. I did use a digital kitchen scale to make sure I had exactly the correct “recipe” for each of the batts I was making so they would be evenly sized and have a similar drape and feel.
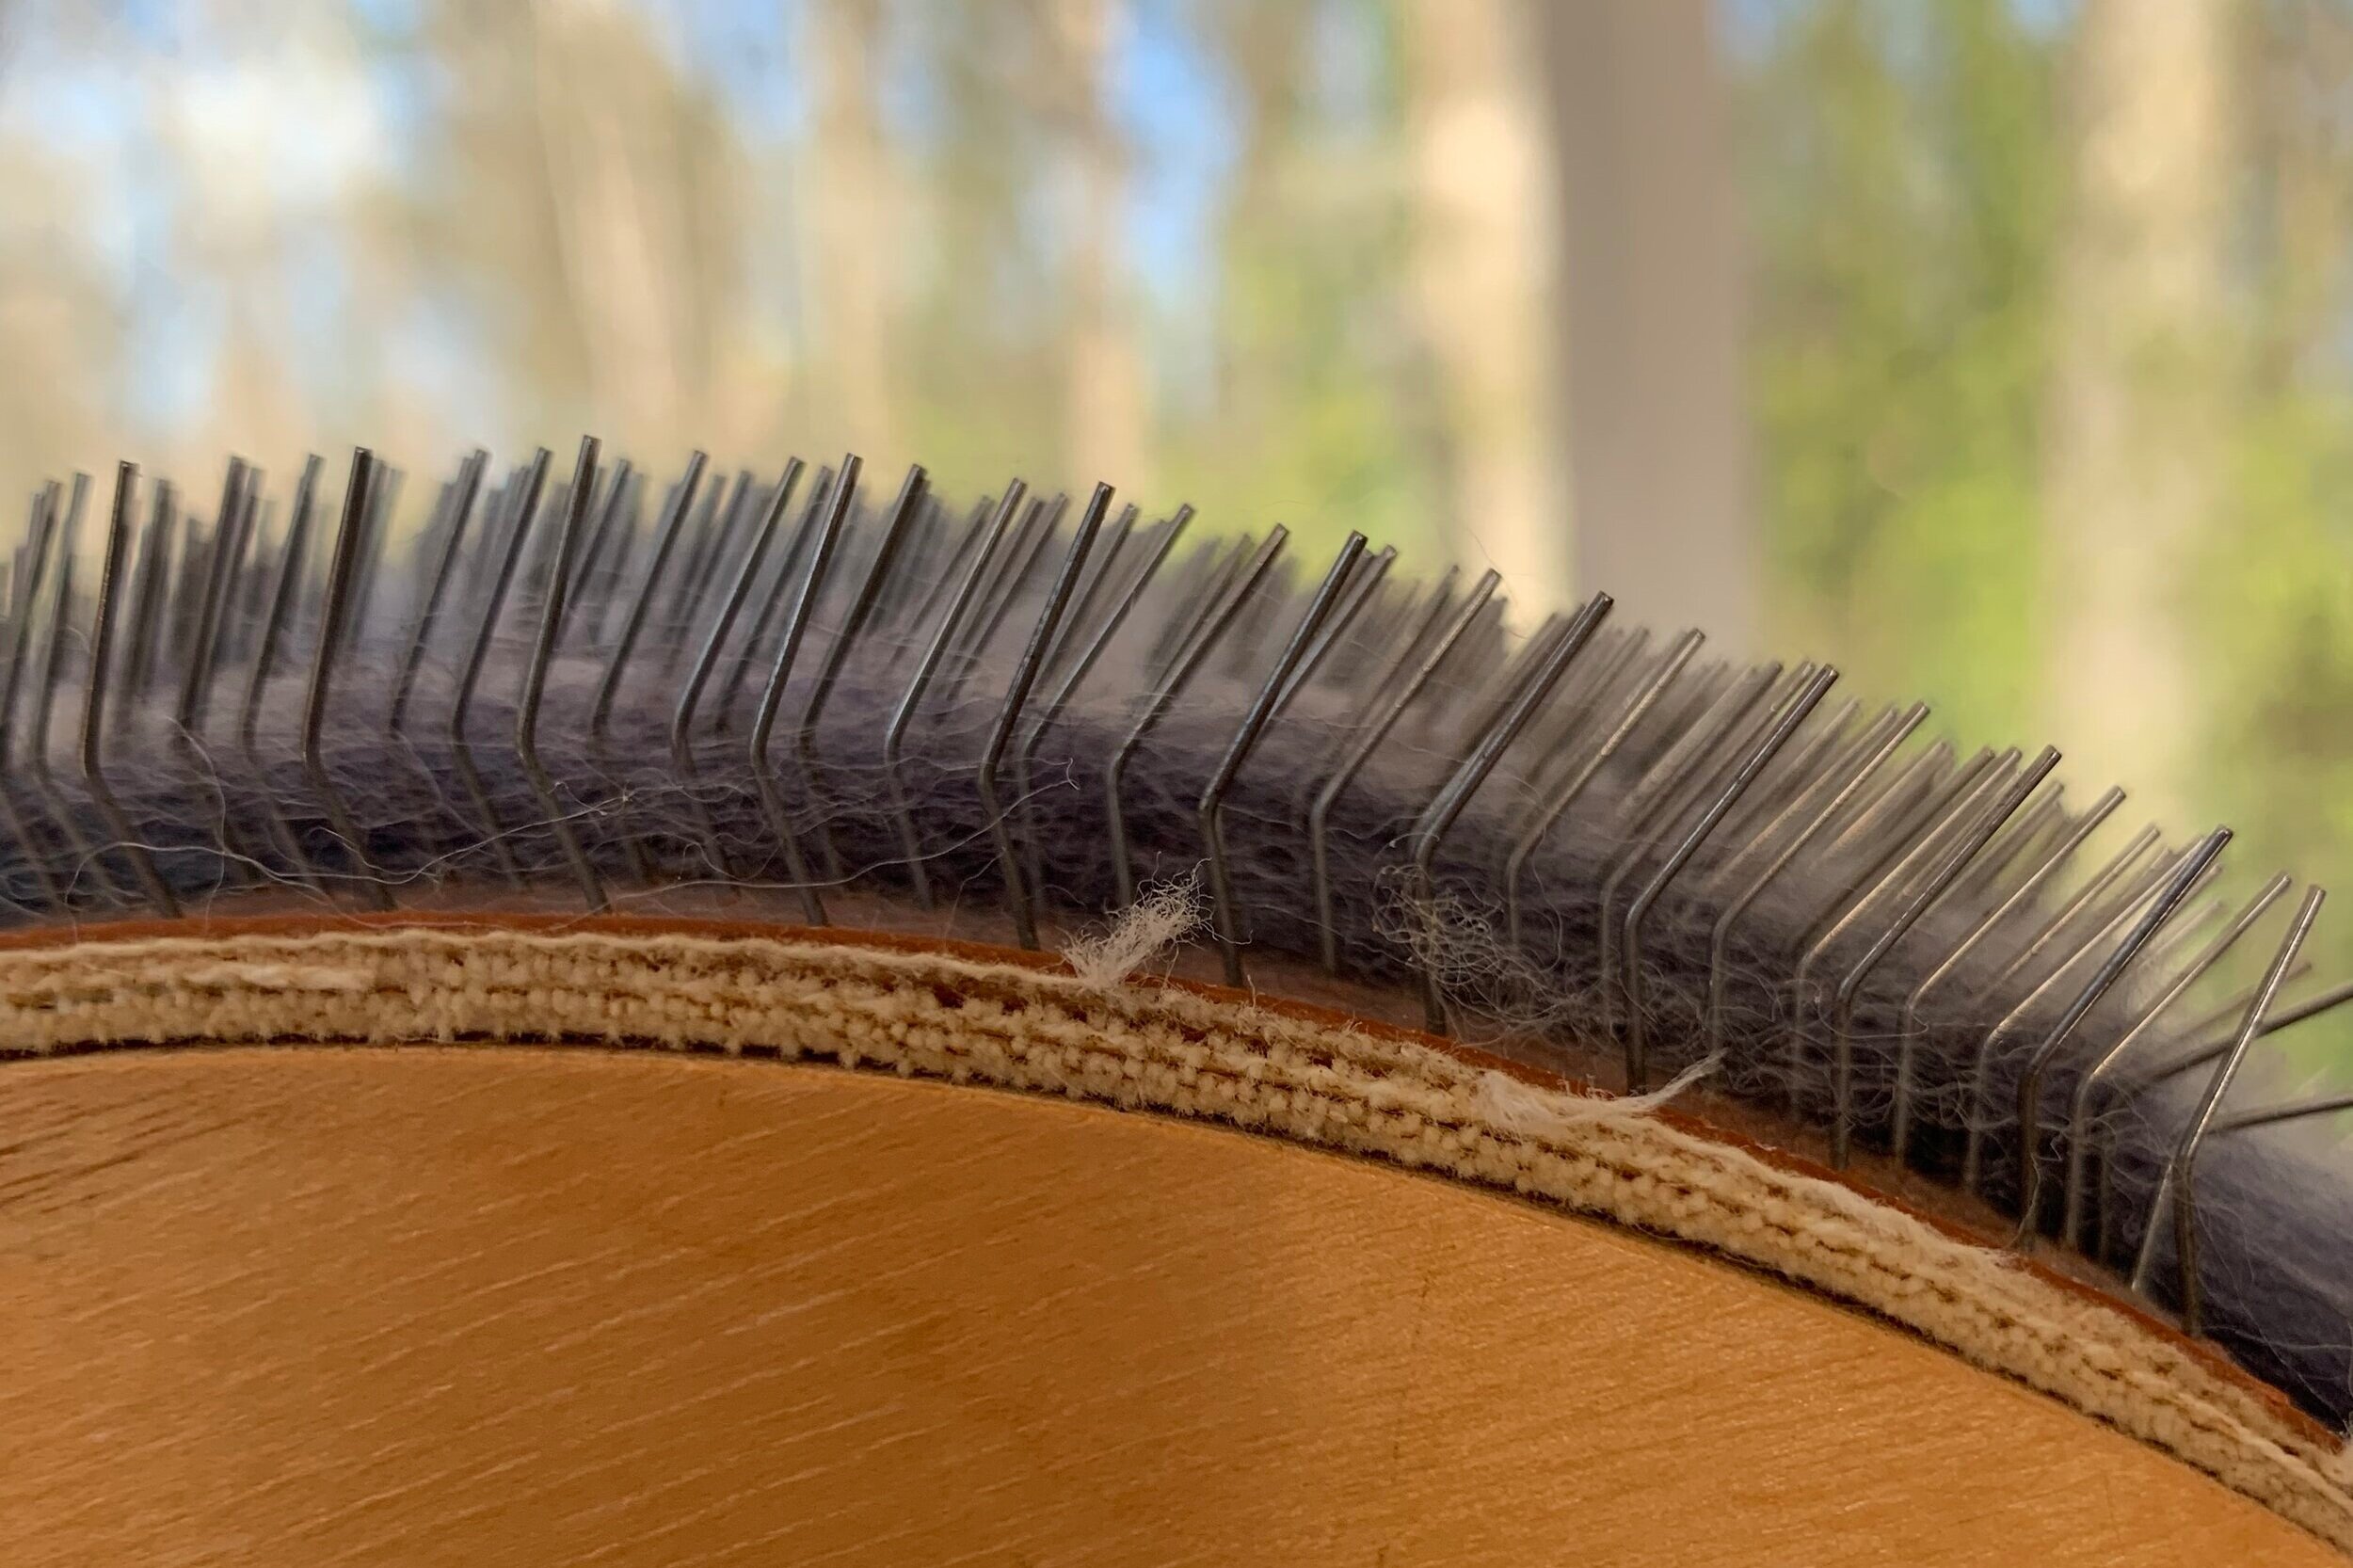
You can see the darkest navy layers are the bottom of the drum and white fibers layered higher up in the drum teeth.
I borrowed a drum carder from my spin guild, the Peachtree Handspinners Guild. I knew I was making roughly 3 oz batts and that it would be a tight squeeze to get it on to the drum. I made sure to add each different fiber in multiple, alternating layers. I put a solid base of the main fiber which was the combed top from Llady Llama Fiber Co. and then add a layer of alpaca, a layer of Debouillet, a layer of angelina, and layer of combed top, repeat until all the fiber is on. It did require “hand painting” the fibers on to the drum (rather than feeding them from the tray below) to get a good distribution and lots of packing down to make it fit. I then took the batt off the drum and inspected it. There were a lot of sections where the white fibers didn’t distribute as well as I would have liked. So I pulled the batts into 3 pieces and painted each batt back on to the drum one at a time. This allowed the different types of fiber to blend together more. You can feed it through as many times as you want to get the desired blend. Just remember, the more times you blend, the more homogenized it becomes. You can’t undo the blending later, so stop earlier rather than later if you think the batt is close to where you like it.
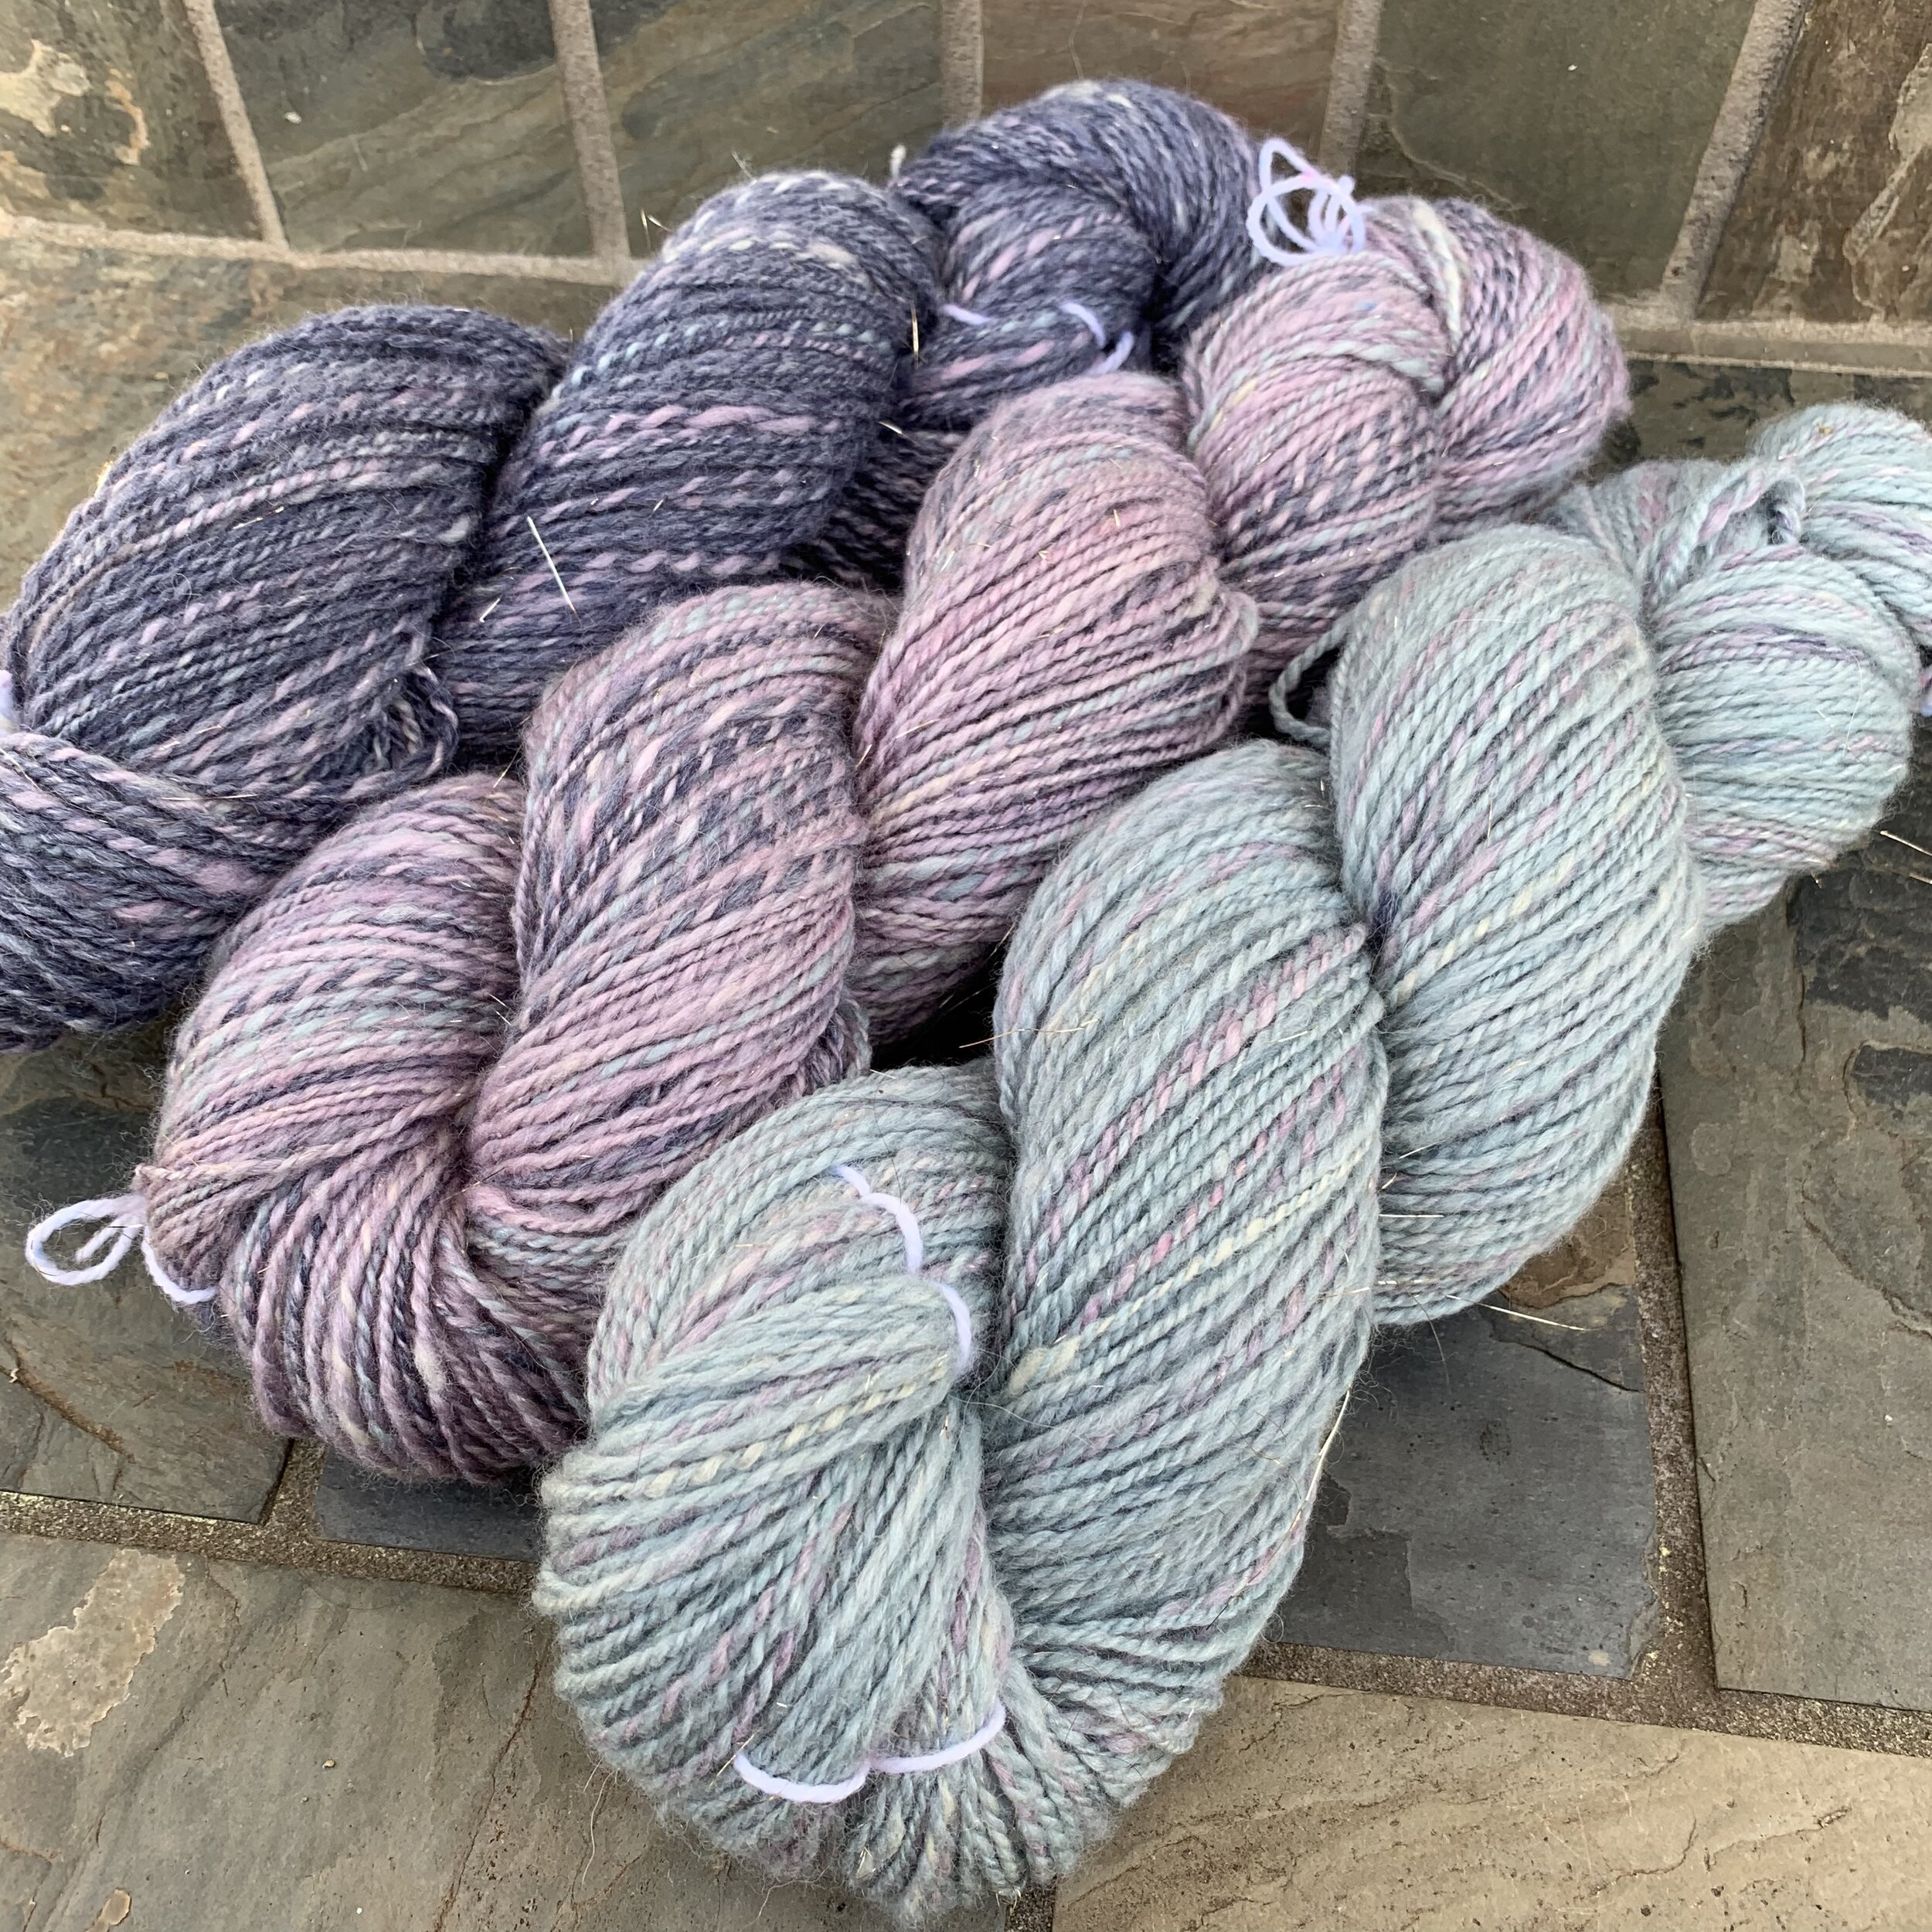
The finished batts were so fluffy and beautiful! I really was blown away to see how these colors that once belonged to a single roving were so right together as 3 separate batts. In the finished 2 ply yarn, you can see distinct pops of color from each of the other 2 colors. This was an intentional choice that I added by blending a tiny piece of each batt into the others so that the colors flowed between the 3 colors. It was not an effect from the batt preparation. I think if I hadn’t done a second blending of each batt, I might have had this effect in there. In hindsight, I would have mixed the white alpaca and Debouillet fibers together first and then added that to the deeper colored deconstructed roving so as to prevent so many pockets of white and yet keep the colors peaks from the navy, pink and aqua present. It all worked out just fine in the end and I’m very happy with how the final yarn came out.
You can check out the finished object here. I hope this can give you some confidence to try something new with a roving that you’ve been holding in your stashing waiting for the right inspiration to come along. So many things become possible when you deconstruct roving. Do you have a roving in your stash that you want to try this with? Let me know in the comments below!


